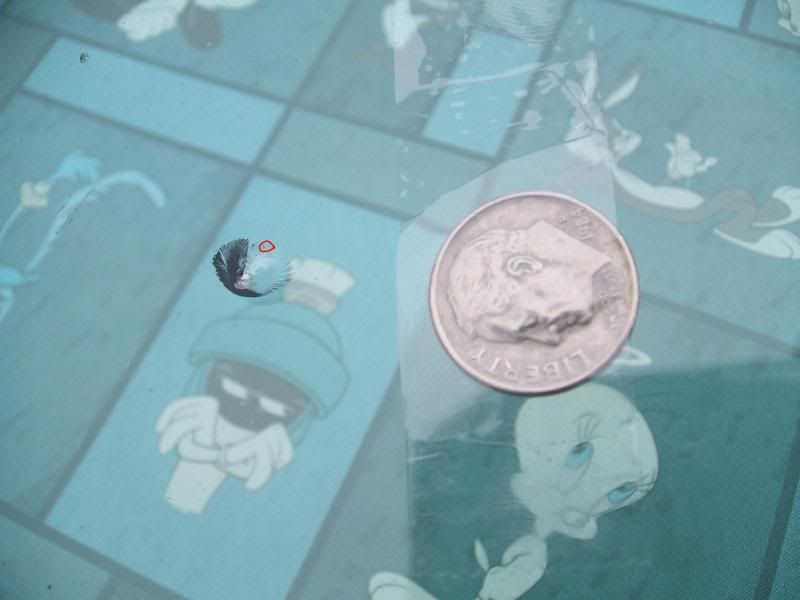
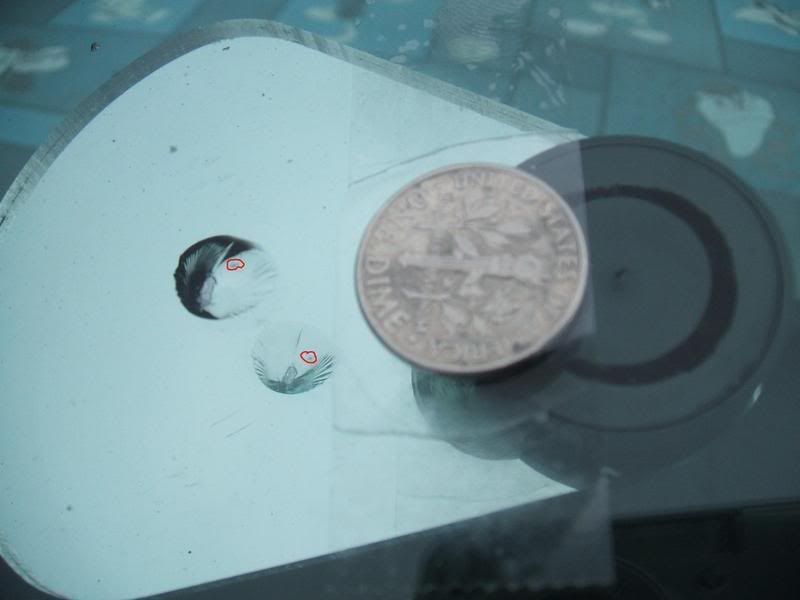
If these pics are of the same bulls-eye, here is what I see. The second pic was taken after you evaporated the water from the bulls-eye, therefore making the bulls-eye appear larger than in the first picture because more air is visible. Repair looks great!
Dave M wrote:If these pics are of the same bulls-eye, here is what I see. The second pic was taken after you evaporated the water from the bulls-eye, therefore making the bulls-eye appear larger than in the first picture because more air is visible. Repair looks great!
Yes, the pics are of the same bullseye and thanks for the compliment too.
OmNi wrote:What method of drying did you use?
I use several cycles of the moisture evaporator from DKI. I start in circles about 1 1/2 - 2 inches around the damage and work my way in. I do this to help bring the surrounding area up to temperature so as not to shock the windshield and possibly cause it to break. You can also melt the PVB and it will come bubbling out of the break which is actually pretty cool. It pops and crackles as it comes out. What fun you can have in a junkyard, huh?
After it cools to the touch, I check again to see if the water is out. If it isn't, I go through the same process until all is good to go.
Omni,
please make sure you practice alot with that dryer. You can go from just barely warm to melted PVB and a botched repair in seconds.
This was the first repair of the morning after it had rained all night long. I forgot to take a picture of it dry though. It actually took about 30 minutes to completely dry out.