Before and After pics

Post your windshield repair tips, questions, advice! Note there is a sub-forum specifically for business development questions.
User avatar
Roo
Member
Posts: 200
Joined: February 13th, 2008, 10:32 pm
Enter the middle number please (3): 5
Location: Thornton, CO
Contact:

Before and After pics

Post by Roo »

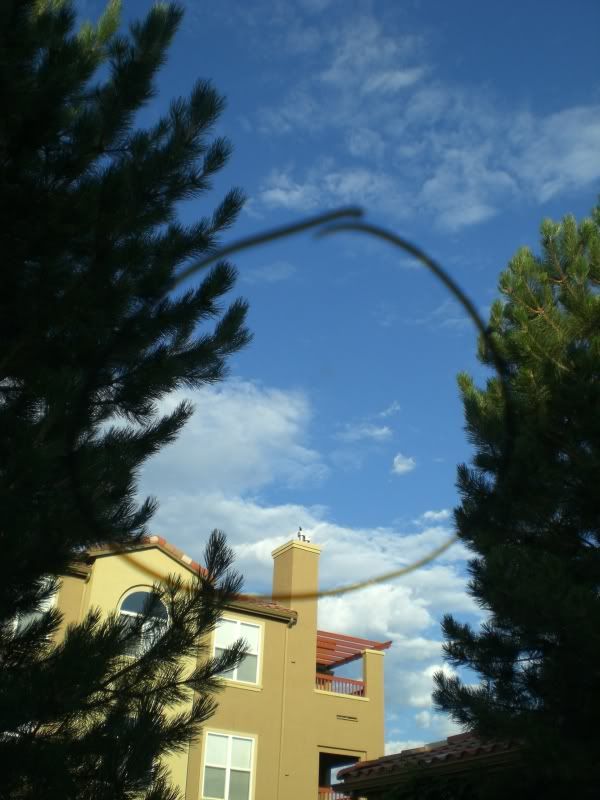
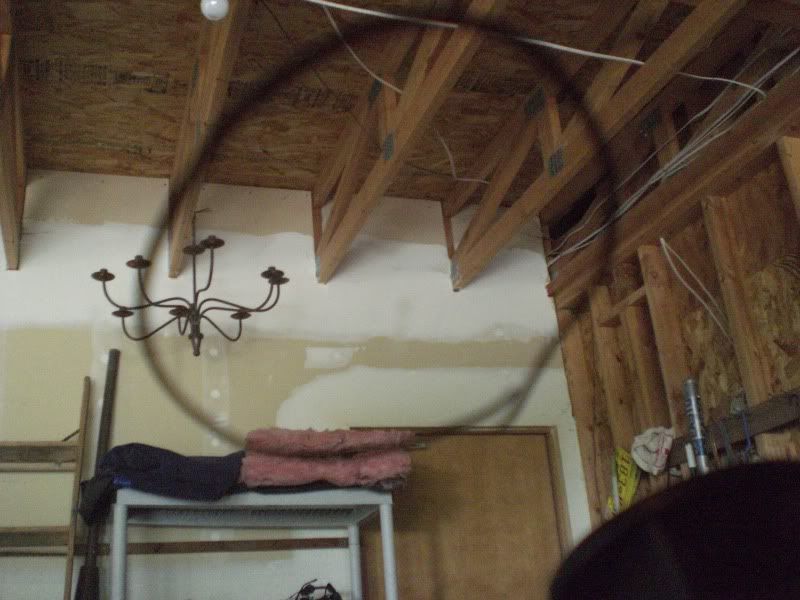
Here are a few repairs I ran across this week. These appeared to be connected. I however filled the bottom one first then put resin and a cure tab over then filled the top one and cured them both at the same time. Came out perfect!
Image
Image


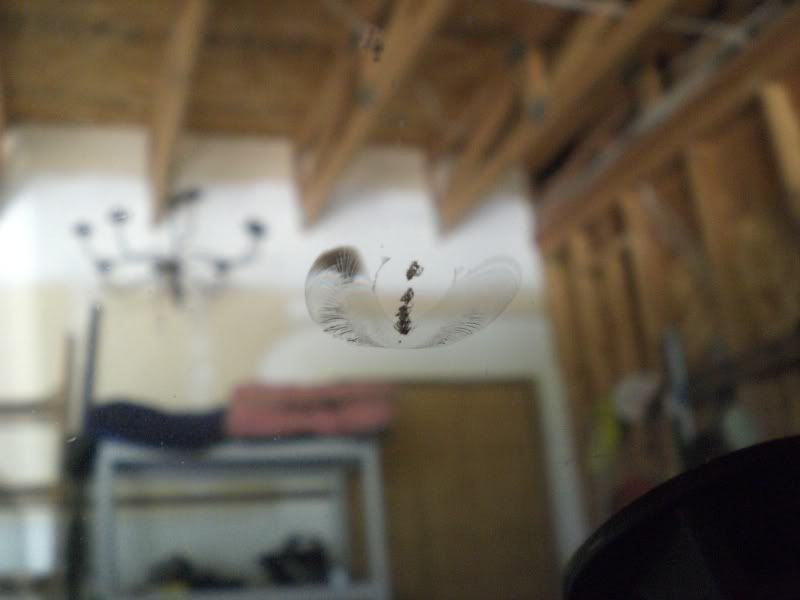
This one I thought was just a weird chip. It had several pits in it. I put my injector on the bottom most pits and filled from there resin did come out of other pits but so did all the air. Turned out great as well.


Image
Image
Frank EU
Senior Member
Posts: 771
Joined: December 13th, 2005, 9:01 am
Enter the middle number please (3): 5
Location: Europe / US

Re: Before and After pics

Post by Frank EU »

We have 50+ images, but I find it too complicted to post the pics here on the forum myself, that is why Brent posted the ''Scam Repairs'' topic for me.
Nice work Roo, well done -glad to see that you're using the UV-dome.
And man, we sure love the skies over there at your end, sun shine is so much better than rain and clouds! :D
chipfix
Junior Member
Posts: 60
Joined: April 26th, 2009, 2:19 am

Re: Before and After pics

Post by chipfix »

Those pictures are deceiving I wouldn't want potential customers to see them.

The before pictures are focused on the chip and the after pictures are focused in the distance

they are definitely good repairs but we all know they didn't make the chip disappear.

I think people looking for repairs may end up on this site and I wouldn't want them to expect a miracle.

I'm not criticizing you Roo,just making a point.

Keep up the good work.
screenman
Senior Member
Posts: 3192
Joined: February 25th, 2004, 1:44 pm
Enter the middle number please (3): 5
Location: uk Lincolnshire

Re: Before and After pics

Post by screenman »

I think it is a good example of how those damages should come out.
t4k
Senior Member
Posts: 1058
Joined: April 12th, 2008, 8:47 pm
Enter the middle number please (3): 5
Location: U.S.

Re: Before and After pics

Post by t4k »

chipfix wrote:Those pictures are deceiving I wouldn't want potential customers to see them.

The before pictures are focused on the chip and the after pictures are focused in the distance

they are definitely good repairs but we all know they didn't make the chip disappear.

I think people looking for repairs may end up on this site and I wouldn't want them to expect a miracle.

I'm not criticizing you Roo,just making a point.

Keep up the good work.

Yep, I noticed the same focal point issue.
User avatar
Roo
Member
Posts: 200
Joined: February 13th, 2008, 10:32 pm
Enter the middle number please (3): 5
Location: Thornton, CO
Contact:

Re: Before and After pics

Post by Roo »

I took over 5 pictures of the finished repairs and these showed the remaining blemish best. If I had a better camera perhaps I could have controlled the focal point better. I explain to my customers up front about what to expect so if there is a surprise it is usually a good one!

Maybe next time I will draw an arrow on the screen pointing to the damage and that would concentrate the focus on the blemish. I am open for photo tips if anyone has some.
sunshine wr
Senior Member
Posts: 626
Joined: August 13th, 2003, 5:53 am

Re: Before and After pics

Post by sunshine wr »

coins work well, they also give you a size perspective. keep it in the same place on the shield for both before and after pics.
SGT
Senior Member
Posts: 949
Joined: August 11th, 2003, 7:39 am
Enter the middle number please (3): 5
Location: Pennsylvania
Contact:

Re: Before and After pics

Post by SGT »

Roo,

With that kind of quality, I would let you work on my vehicle anytime sir. Also with that quality you certainly have one element cover to compete in the WRO. Keep up the good work.
Safe Glass Technologies

Image
2012 WRO Gold
2009 WRO Gold
2009 WSRPOTY
2008 WRO Silver
User avatar
Roo
Member
Posts: 200
Joined: February 13th, 2008, 10:32 pm
Enter the middle number please (3): 5
Location: Thornton, CO
Contact:

Re: Before and After pics

Post by Roo »

SGT wrote:Roo,

With that kind of quality, I would let you work on my vehicle anytime sir. Also with that quality you certainly have one element cover to compete in the WRO. Keep up the good work.
Thanks Brian! However, as others have stated the camera does a poor job of showing the remaining blemish. I tried taping a dime right beside the repaired area and that definitely portrays the results more accurately. Thanks for the tip Sunshine WR!
sunshine wr wrote:coins work well, they also give you a size perspective. keep it in the same place on the shield for both before and after pics.
windshieldwiz

Re: Before and After pics

Post by windshieldwiz »

Those pics show a pro at work....very nice and very good work. U should get 70 referrals a month lol
Post Reply

Who is online

Users browsing this forum: No registered users and 17 guests